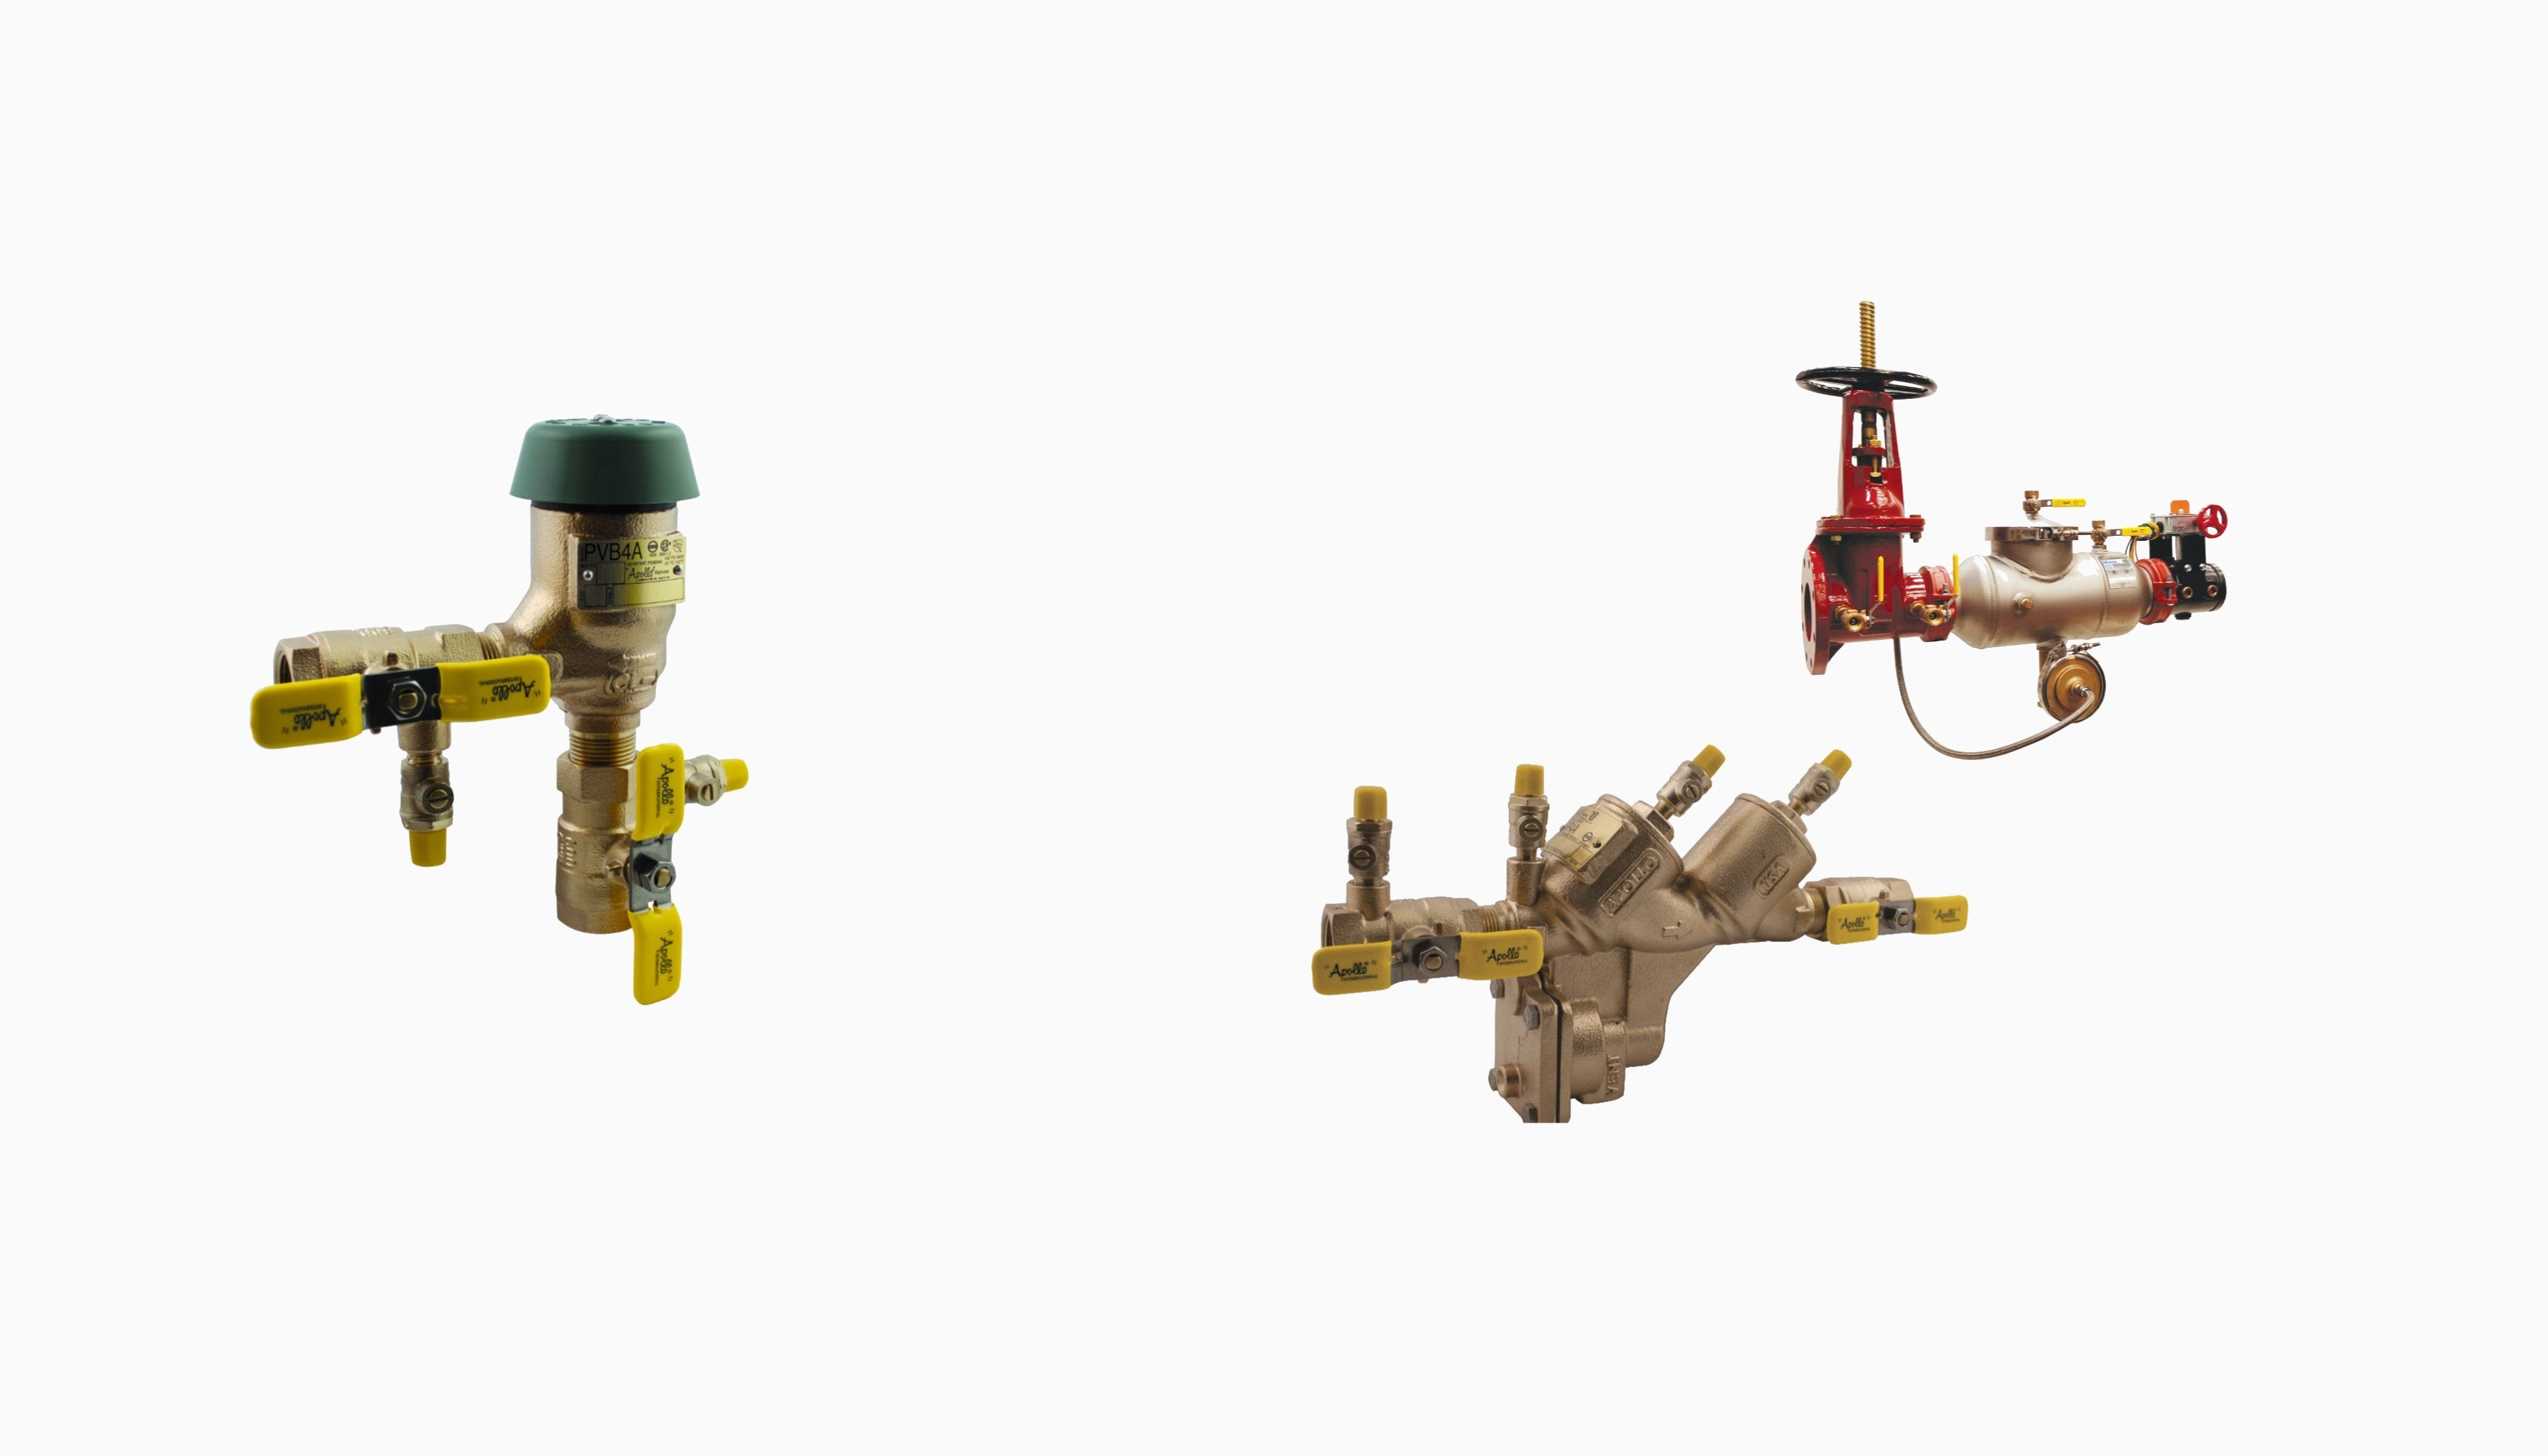


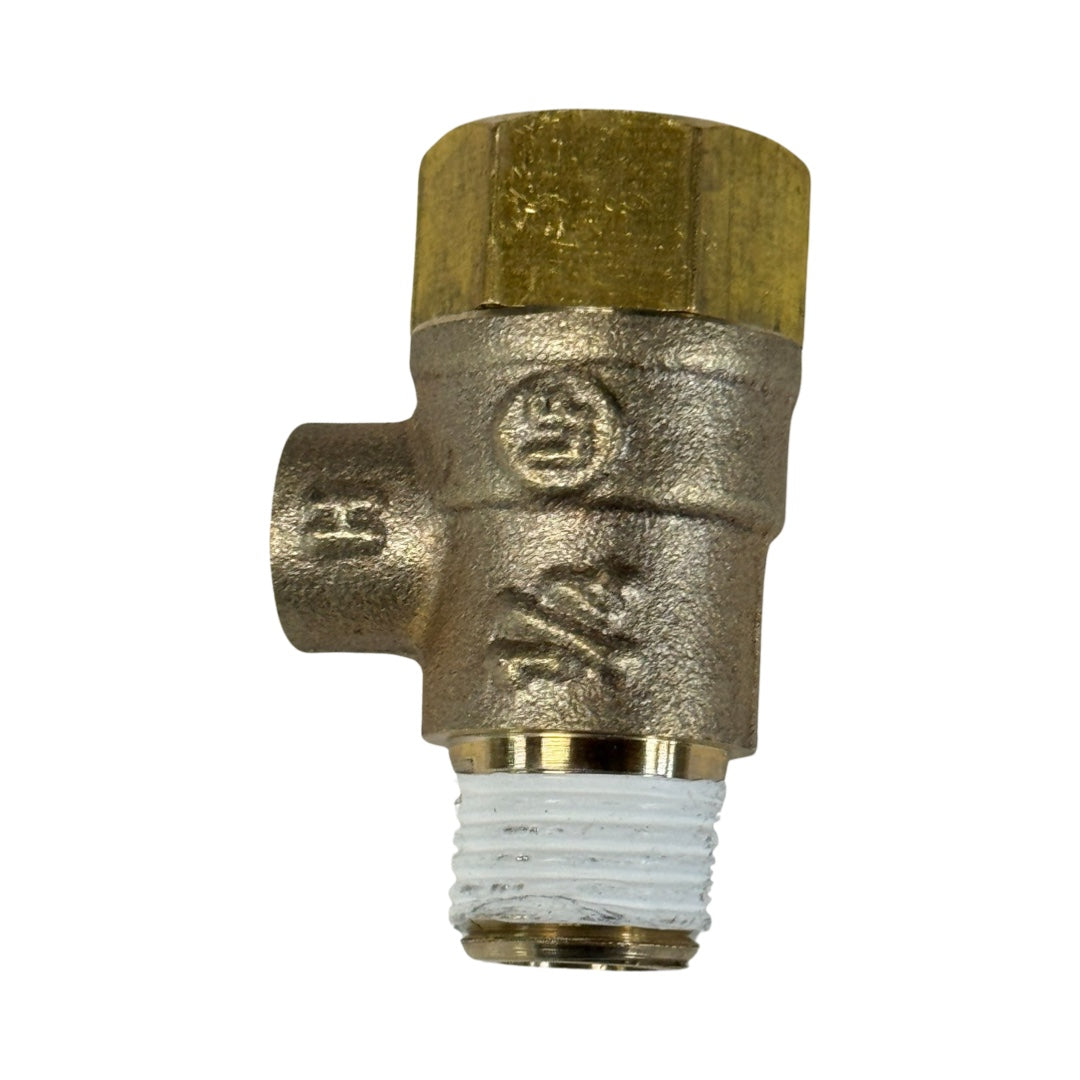
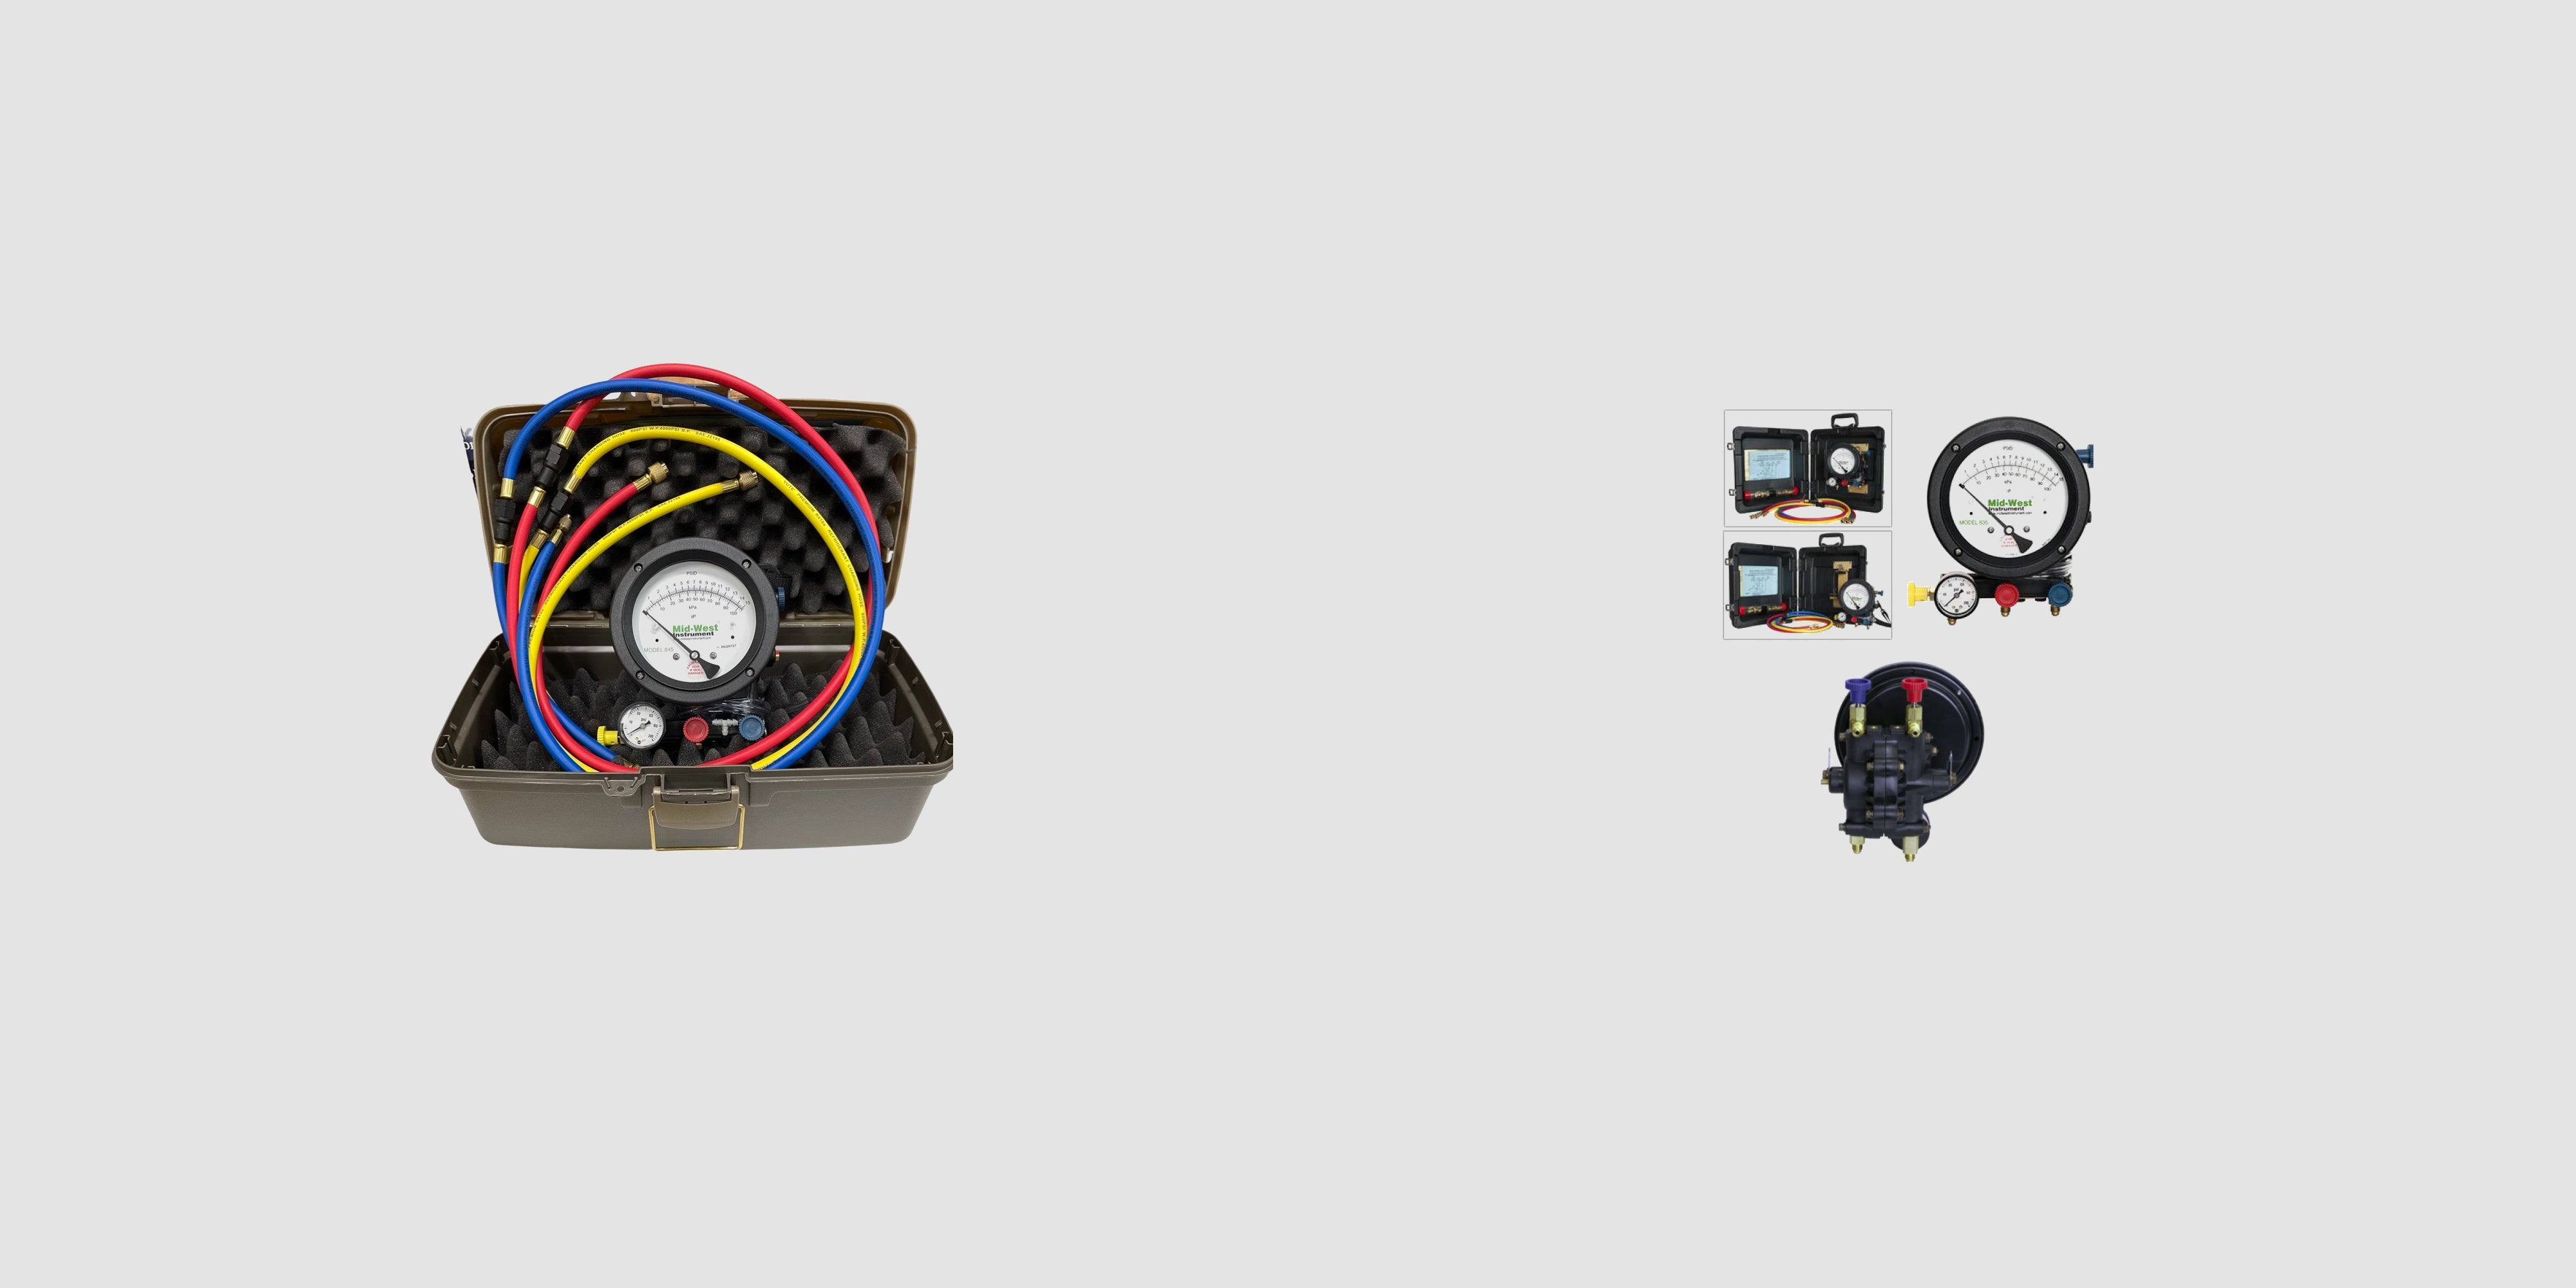
Backflow Seat Removal Tools
Video Transcript:
Hello once again this is Sean with
Backfill Supply out of Salt Lake City
Utah the last time I did a video I
showed you how to troubleshoot and work
on a particular 975 XL that was brought
in by a customer that was having
problems with the backflow assembly and
didn't want to do anything about it just
wanted a new one and as I was doing that
I told you I wanted to show you a video
on some seat removal tools and so that's
what the main purpose of this particular
one is tonight but I want to show you a
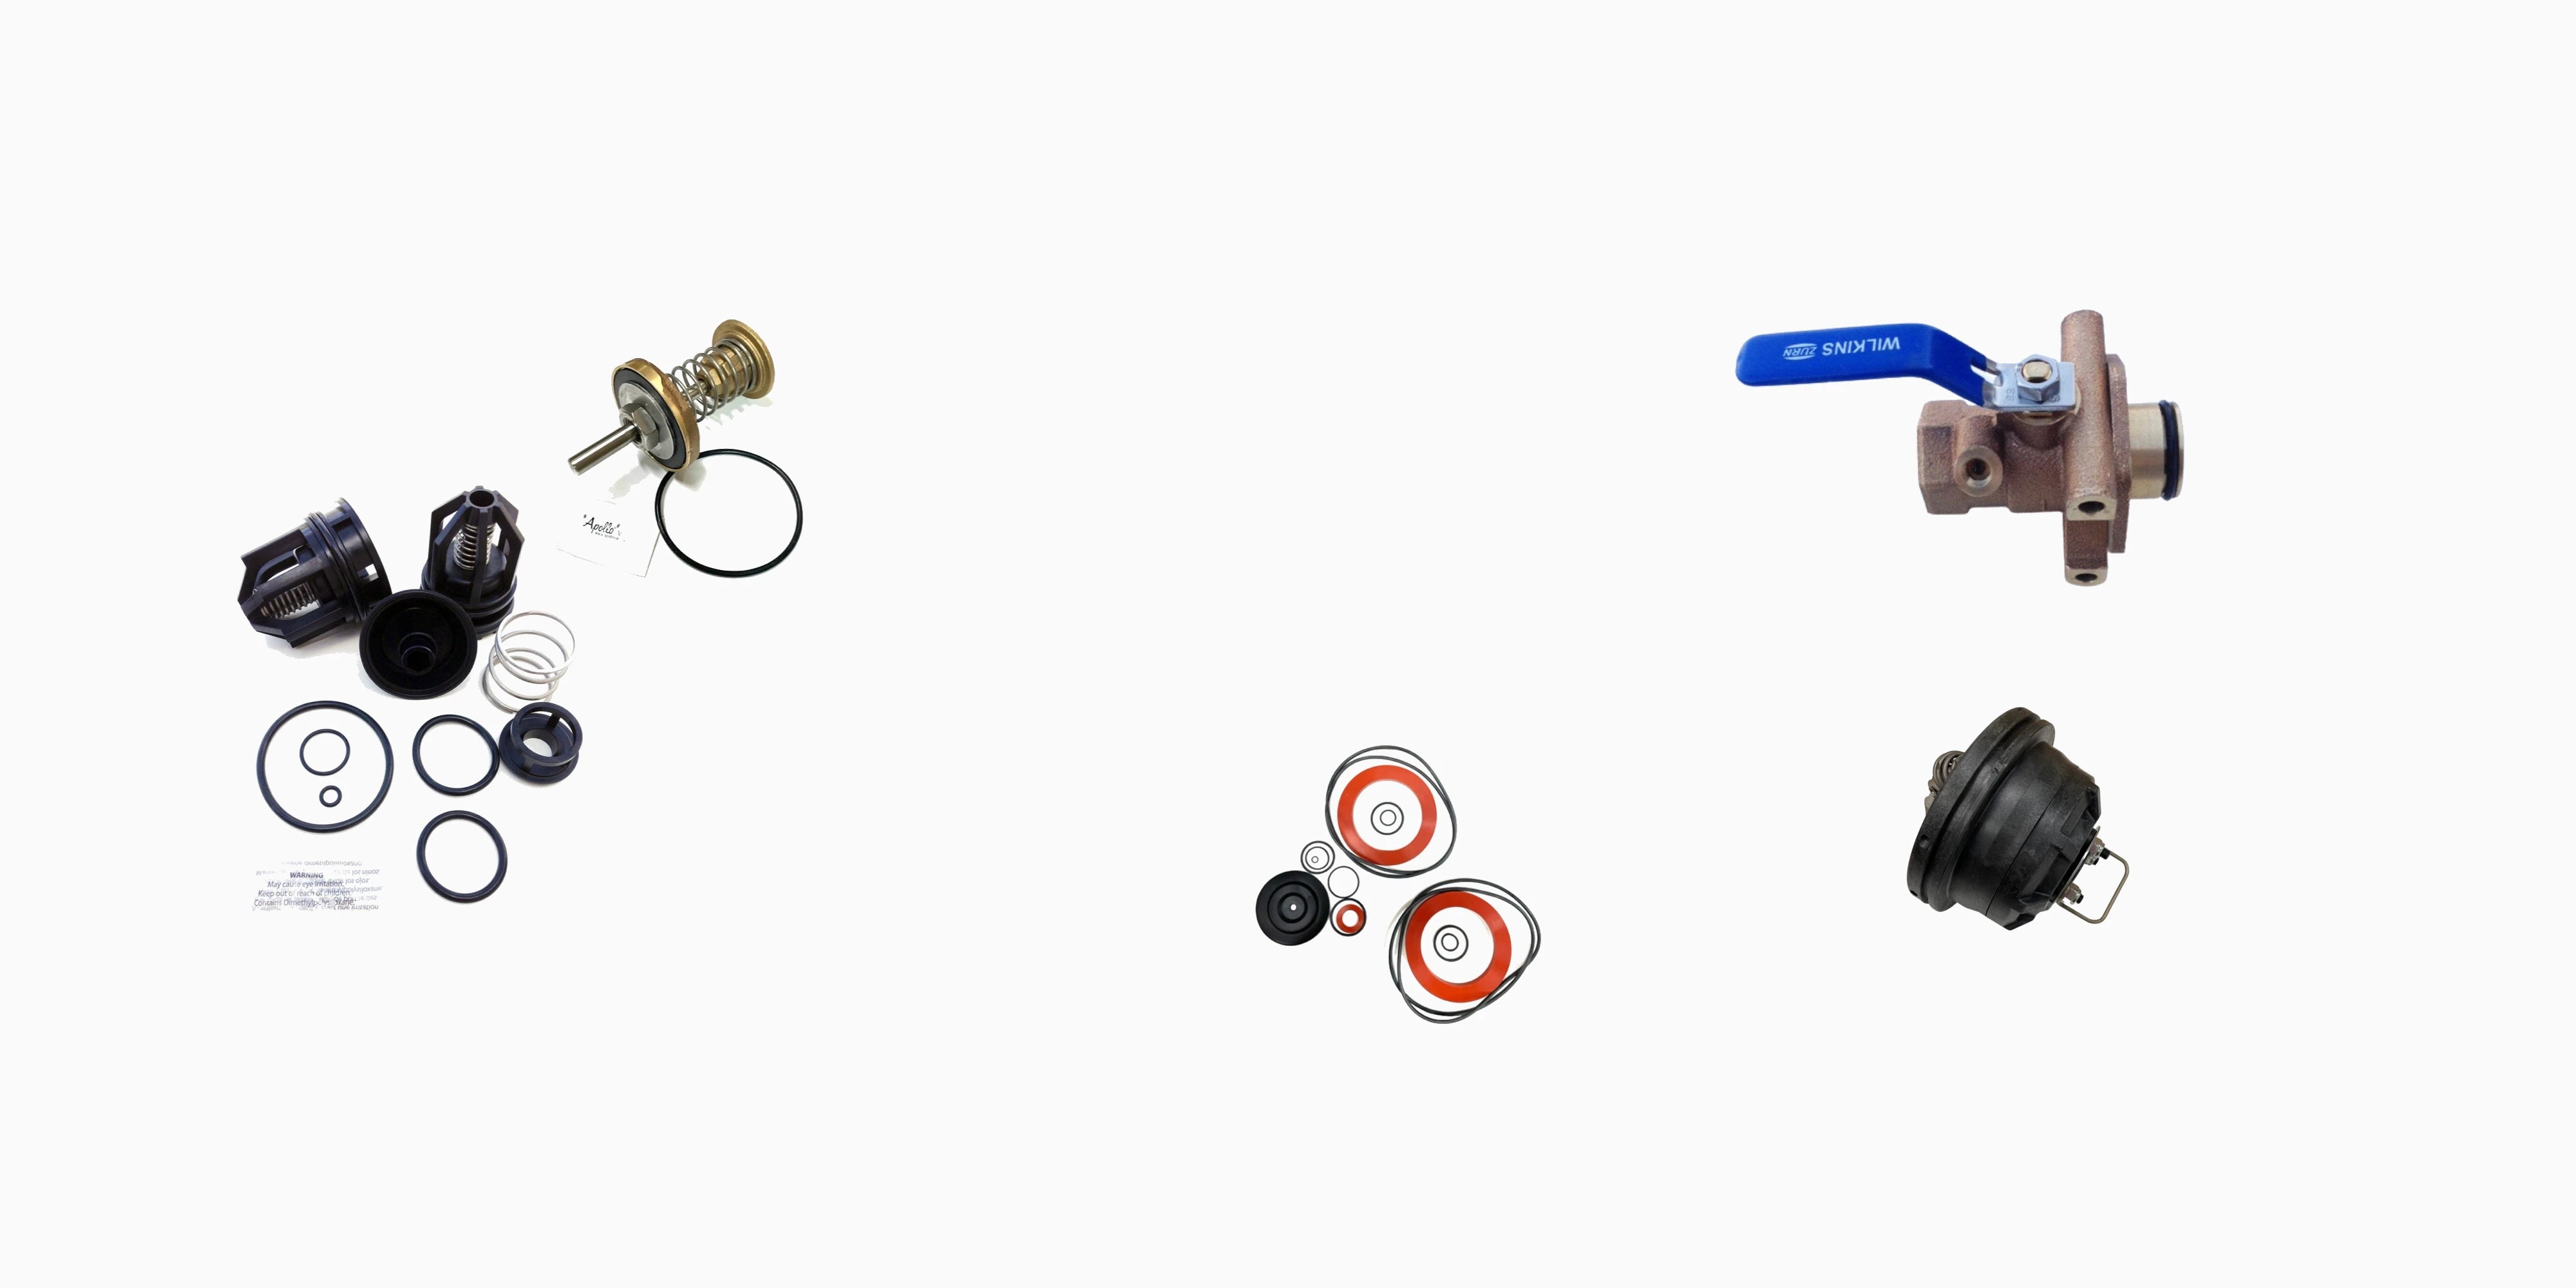
few other accessories as well the backflow seat
removal tools are made by different
companies. I'm not sure who started at
first if it was an aftermarket person or
if it was the manufacturers themselves
but the two seats that are the most
common that need to be removed are the
or Apollo remember Conbraco and Apollo
are the same company and they just have
played around with their name a little
bit and the seats are very similar these
are both out of the three quarter one
inch sizes the Conbraco or Apollo are
gray.
The one on the way right hand and the
Wilkins are the black ones that are used
in the 975 xl's 95 XL and the 95 XL
T's just a quick note about that the 95
XL T seats are different than the ones
that are used in the 95 XL in the 975
XL but they both have just four little
stubs that point into the center of the
seats and they look very similar both
the camber echo and the Wilkins similar
setup similar design as far as those go
they just thread into the body but they
can be difficult to get out and
sometimes people will try and ship them
out with a screwdriver or they'll try
and cut them out. I just had a person
last week tell me that somebody had
taken a saw blade and cut down into it
and they went through it and into the
threads and ruined the whole assembly so
the rock the proper tool can be an
important asset to any tester or person
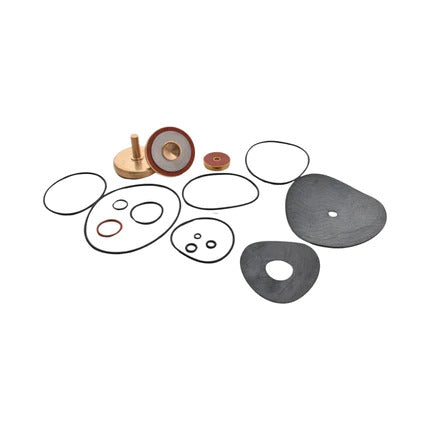
doing a repair out there. Now I'll start
with the ones that are made by the
manufacturers
it's just a flat piece of metal it's
really not special it just goes in and
it makes contact on two of those those
stubs that point into the center and you
throw them in and out
you just put a wrench at the top of this
and I'll show you here in a second -
twist twist them in and out. The other
one is made by a guy out of Oregon and
he's the one that originally made the
quick-connect test fittings at which
we'll talk about here in a minute
and he's gone through different designs
through the years but this is the one
that he's settled on and it just uses a
ratchet that you'll put the extension
down in there and it locks into place
and you attach your ratchet to the other
end and you thread am in and out. Nice
compact strong tool and you'll notice
that there's a different and I'm not
sure I think that's a quarter inch size
for the three-quarter one inch seat
removal tool that you'll need it for as
well as the relief valve seat tool on
the inch and 1/4 to two inch and it's
the same thing with the Wilkins again
they look very similar very similar
design and they are definitely worth the
money.
His run about ninety five dollars for a
set these other ones that are made out
of aluminum are made by a local guy and
they're about $9 a set as I recall and
it also same principle it has four
little notches to make contact down on
to the four stubs in the seat and you'll
just hook your rent your extension into
it and connect your ratchet and you just
put it down inside the assembly line it
up and this one's a little bit easier
because I've done this several times
tonight as I've been trying to do this
video and once you have that loosen you
can remove the socket
and then it comes out so it's fairly
simple. These are not as good putting
them back in because they're not a tight
fit but they can help if once you get it
started but I have found that the this
Wilkins tool tonight and I haven't
noticed this on the one that I use here
in the office for customers when they
come in that it's holding fairly tight
and so that does help you to get it down
in there and get it started just make
sure that you have it started equally
all the way around so you don't cross
thread it and I never use a wrench when
I'm putting this back in I just snug it
with my hand and that's all that's
needed. Now just to show you taking it
out again you just put it down in the
center make contact on two of those
points and I just use a crescent wrench
across the top and use that to loosen it
it takes a few turns this tool to get it
started so it's loose enough so that you
can just unthread it the rest of the way
simple as that now I say simple as that
but I was struggling with this the very
first time tonight and actually bent the
tool a little bit so these Wilkins and
Conbraco tools from them can
bend and you just pound them flat again
and these are about I think the Apollo
ones are about thirty dollars and the
Wilkins ones are almost fifty. Now the
other thing I wanted to show you were
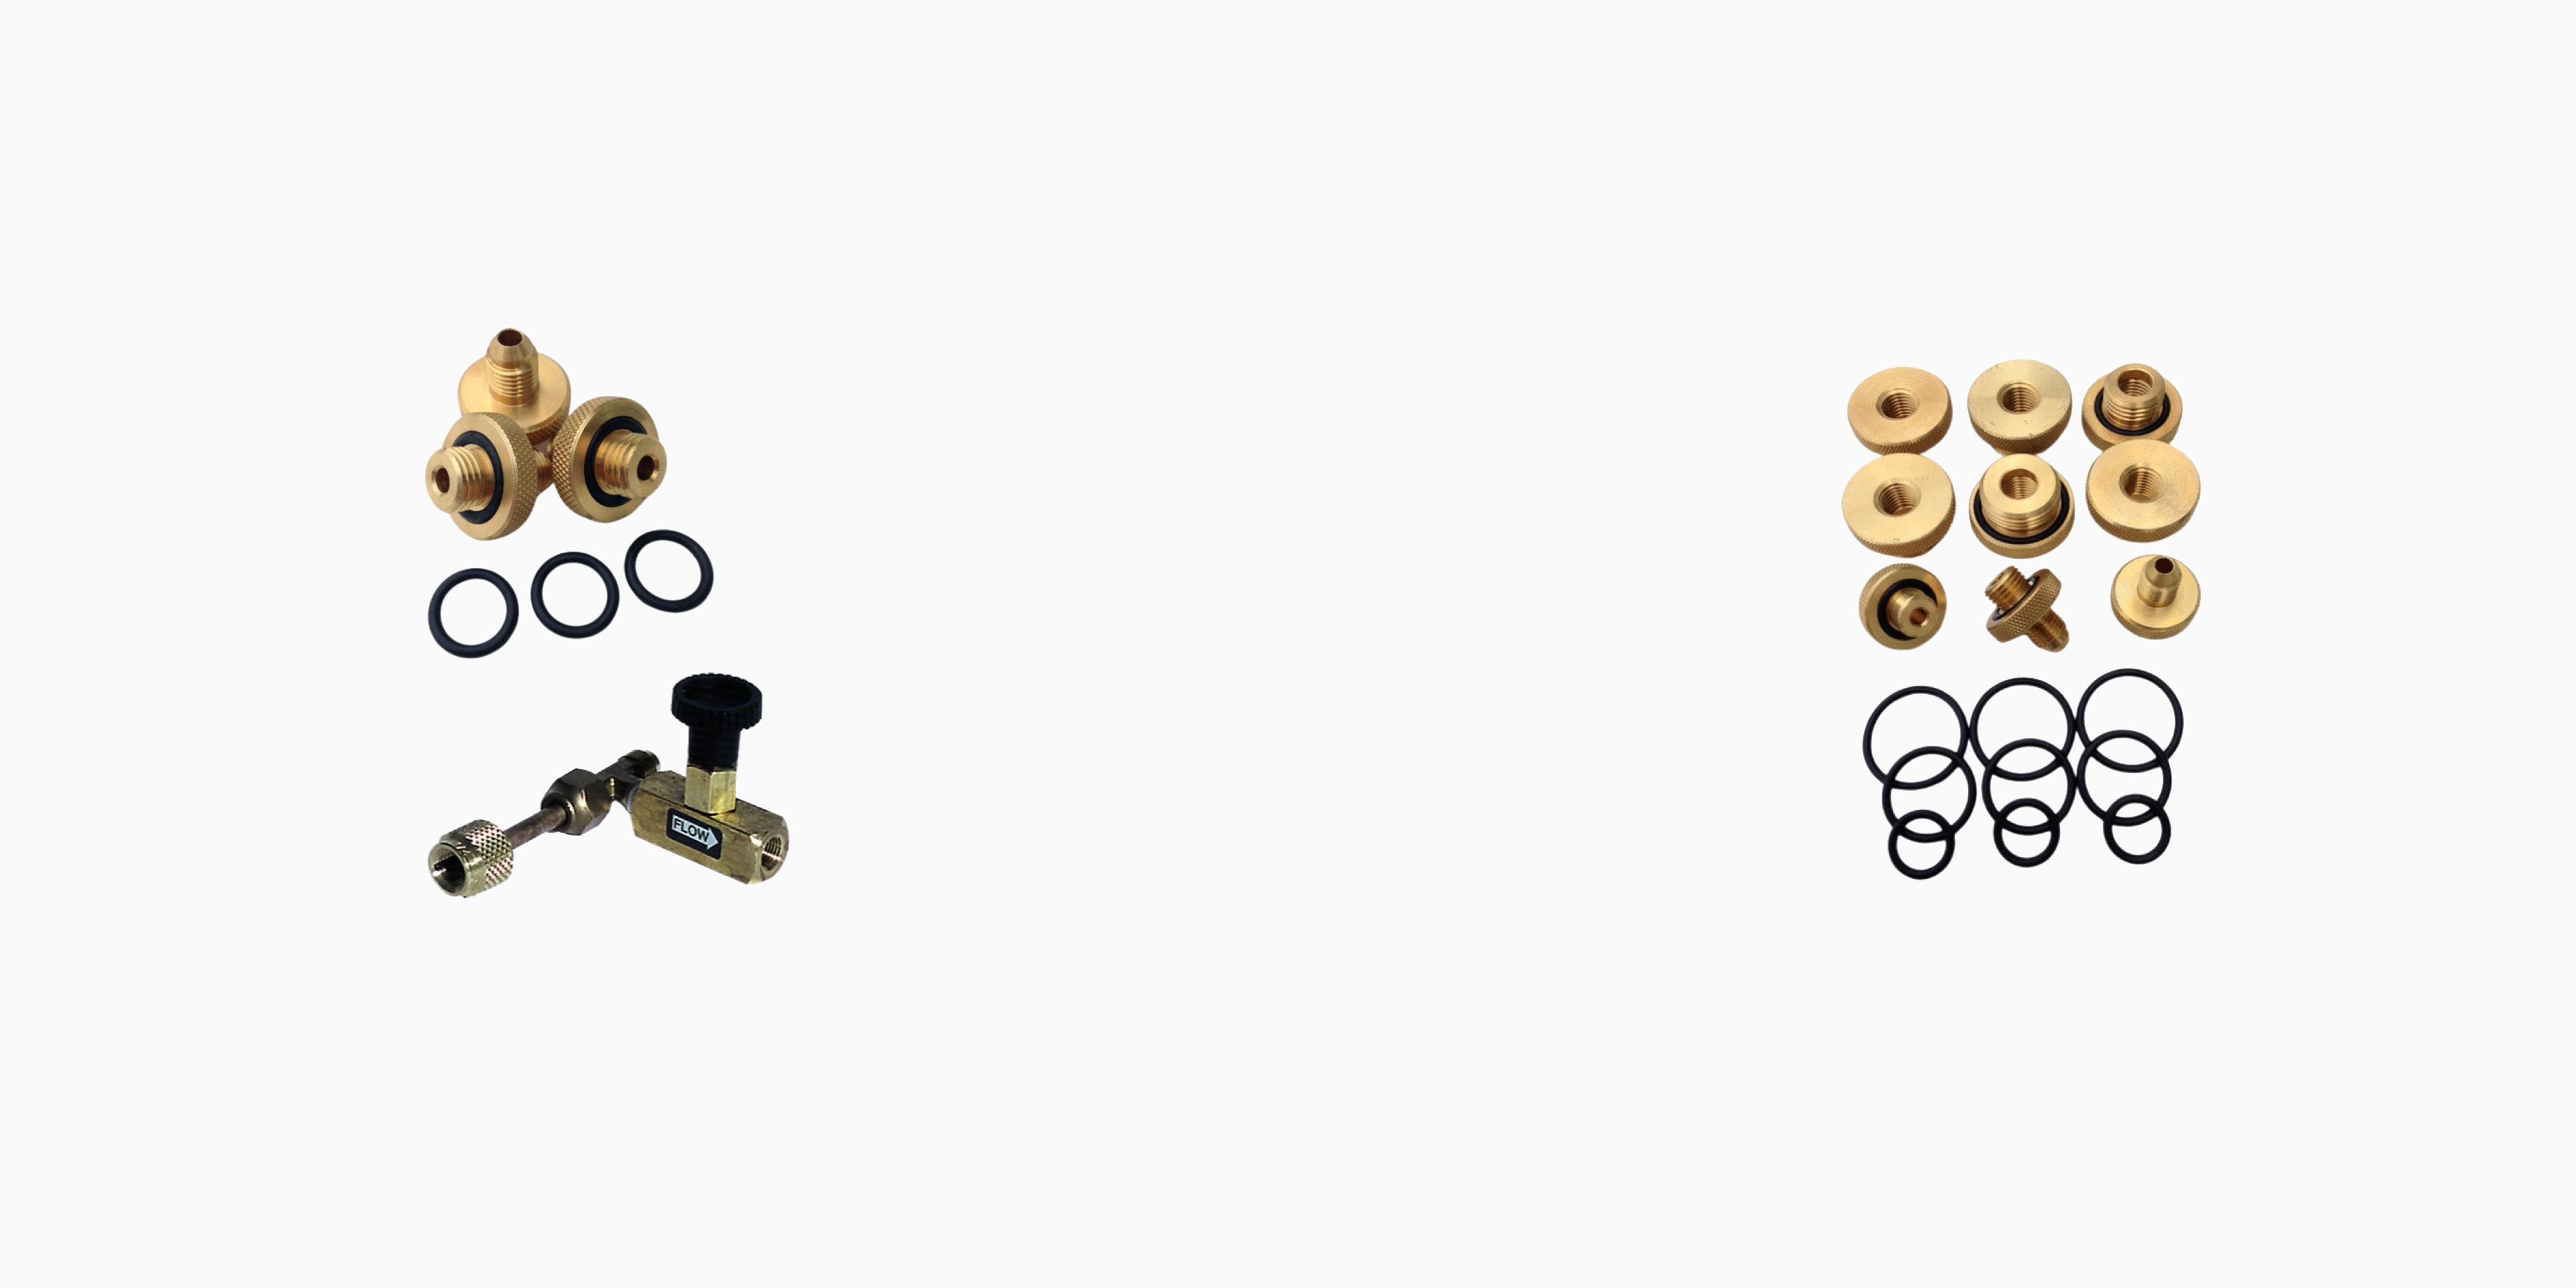
these Quick Connect adapters and they've
gone through a change when Tom the guy
out of Oregon originally designed these
they have an o-ring at the base of the
top and it just seals down at the top of
the test cock as you thread it in nice
and snug and it's tight against the top
and you'll want to lube those from time
to time so that the o-ring stays soft
and supple and that it lasts longer this
other design that he just fairly
recently came out with has a gasket or
an o-ring on the other sizes the half
inch and 3/4 that seals down at the base
and so you just thread that in until you
have a little bit of resistance and snug
it and hopefully you can see
how that there's a quite a gap between
the top of the test and the base.
Now his other one like I said has an
o-ring and the way that the ball valves
are designed these o-rings fit down in
there very nicely and you just snug it
down in there it's as easy as that
the brass ones again you still have the
o-ring at the base of the top or the
bottom of the O ring at the base of the
top of the fitting and you just snug it
down there and they're both quick and
easy quick turn them in turn them out
just don't forget to leave them and
that's the nice thing about these
colored ones they stand out a little bit
more and it makes it a little bit more
difficult to walk away and leave them at
three-quarter same thing and I didn't
bring the brass three-quarter ones out
because they're just like the others and
you can see the difference and how much
time that can save you. The frustration
is when you do leave them and hopefully
they're there when you come back the
next year but I do sell quite a few of
these because people will leave them or
they'll drop one down a drain, I'm amazed
time we go down a drain somewhere. Now
the other tools that I want to show you
is for the ball valves and I showed you
on that video last time using this
ball valve handle wrench and maybe I'll just
use it on the same assembly again and
you just put it on the handle of the
ball valve attach your socket and it
allows you to turn that really easy and
this is really beneficial when you've
got something that's down in a box
hopefully that's only on a double check
but it'll save your knuckles a lot of
times you try and use a wrench and it
slips off and you can do more harm than
good and so this is a beneficial tool
now that's for the 3/4 one inch
and possibly even 1/2 inch and a little
bit smaller that'll work on but he's
also got one that's made for the inch
and 1/4 inch and a half and two inch
size that also just sits around the
handle and you put your socket onto it
and turn it
not going to try and do that with this
one because it's very hard to do that
when they're not installed in line those
are a little bit more difficult to turn
but the other thing that I want to show
you is a bit a missing ball valve handle
wrench so this is designed to go onto
the stem if the handle is missing and
this particular tool has different array
civ of holes on both ends so it'll do
probably anything from the / inch up
to inch and you just find the hole
that fits closest to the stem that you
have. He also makes this where it's just
basically like that and it's just for
the one-inch and smaller assembly so it
doesn't have the other end and so you
just you need to remove the handle which
should be already done that's why you
have the tool in the first place you
find the spot that fits the best. Now
I've got the advantage of being able to
rotate the ball itself but in a box you
can't do that and sometimes you can only
get it so far so then you can pick it up
and then there's one that's a little bit
offset and you can finish turning it
very convenient and again it's the same
principle with the inch. So those are
the things that I wanted to go through
tonight with you I want to thank you for
your time I hope that you find this
helpful please post any questions or
comments down below and I'll respond
back to them and please click on
subscribe and click the bell so you're
notified of another video I will try and
do those once or once a week or once
every two weeks depending on how busy
things get and the availability of the
things that I need to make the video I
want to thank you again and appreciate
your time have a good evening.
Leave a comment