Conbraco / Apollo Relief Valve (RV) Stem Issues
Conbraco / Apollo Name
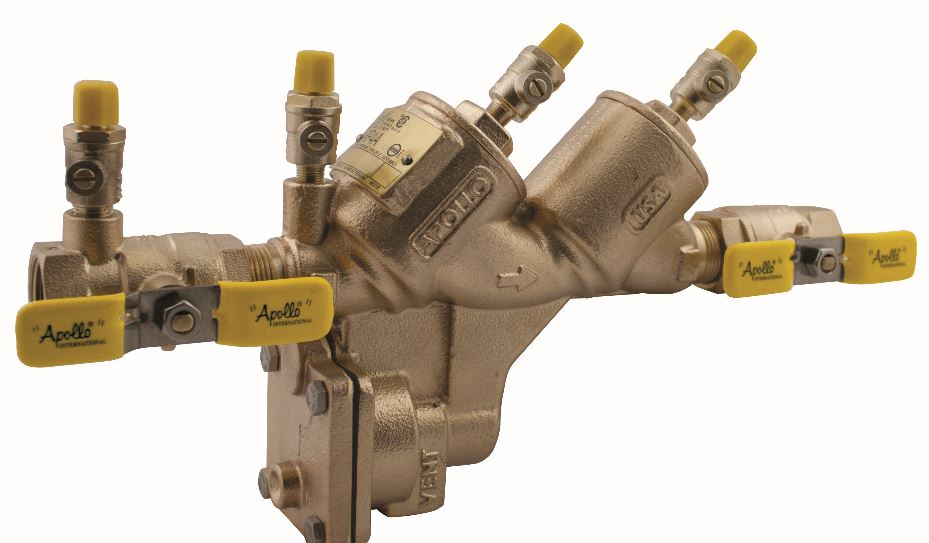
Let me first remind or inform you that Conbraco and Apollo are the same company and always have been. The background is that Conbraco is the parent company and Apollo is one of their lines. But they used the Conbraco name for their backflow line but always had the Apollo ball valves on them. I am not sure their reasoning behind the change but several years ago they changed the name that they use on the backflow line to Apollo. Clear?? If so maybe you can help me out.
The Stem
For many years I have had customers come in needing a new RV stem or the RV assembly kit because the stem was cracked or broken on the RP40 series. Most often on the 3/4" - 1" size it was a crack that ran down the side from the screw hole where the plastic diaphragm plate was attached. I collected these for several years and gave them to Conbraco for them to be aware of the problem. Three times I gave them handfuls of them directly to the person over the Backflow division at the time. This was at least 12 - 15 years ago.
This seemed to be an issue mainly on the 3/4" - 2" assemblies installed outdoors but occasionally happened on indoor installations. This stem can be purchased individually and is much less than the complete RV repair kit.
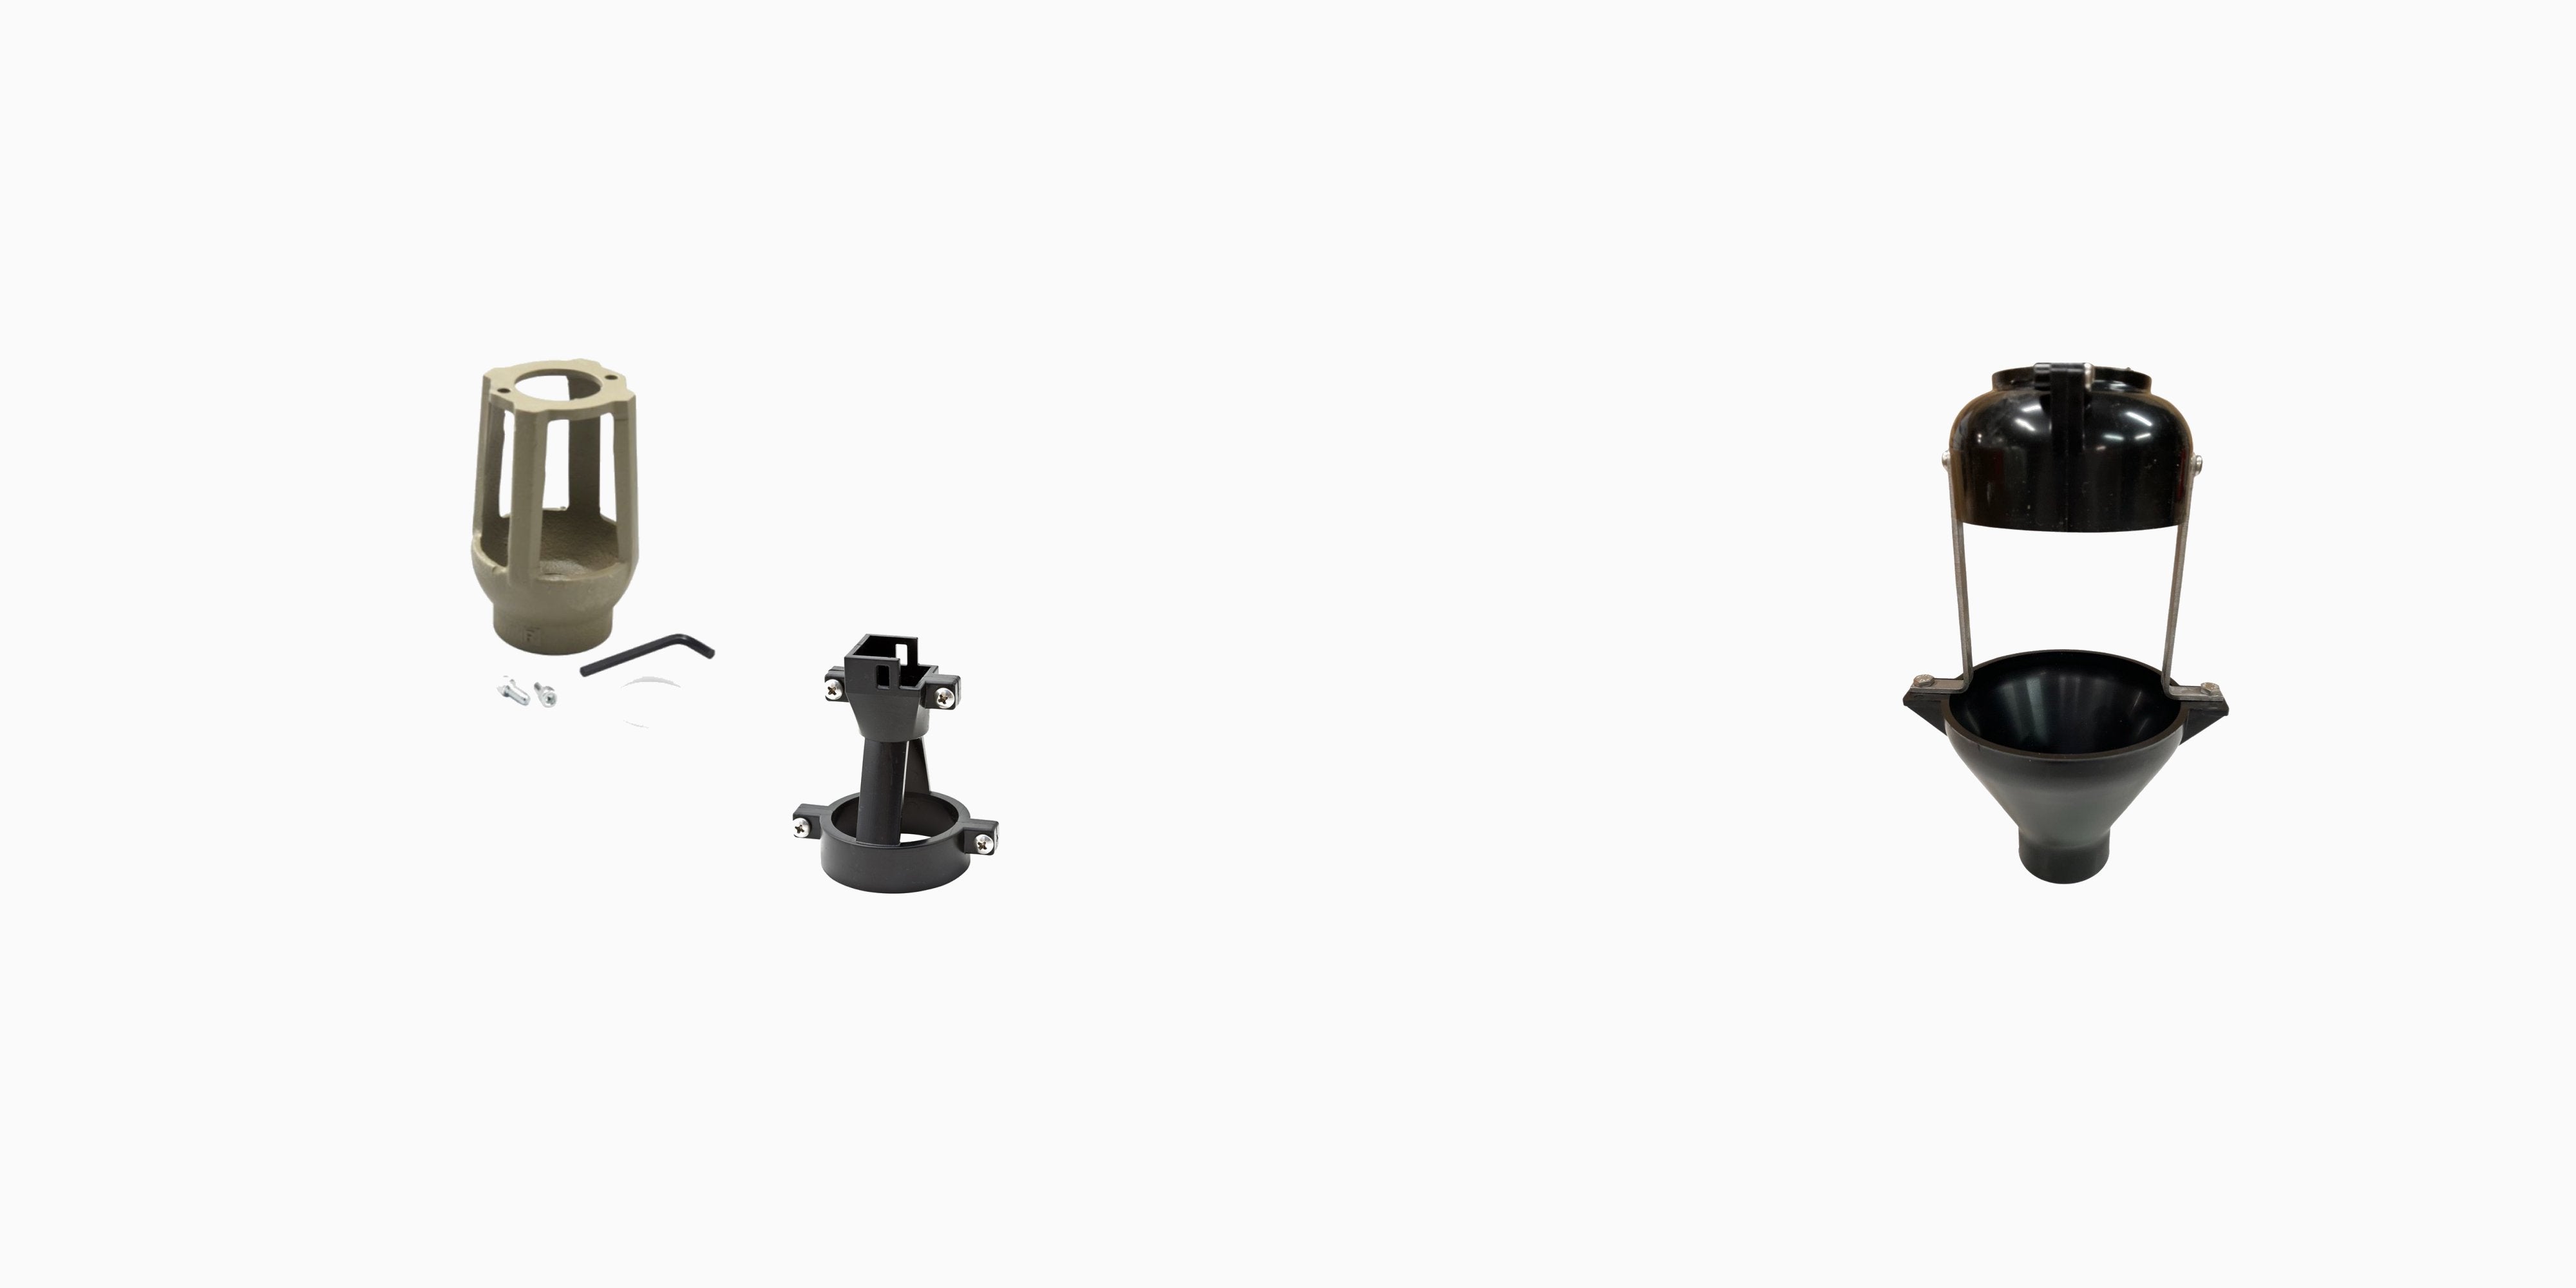
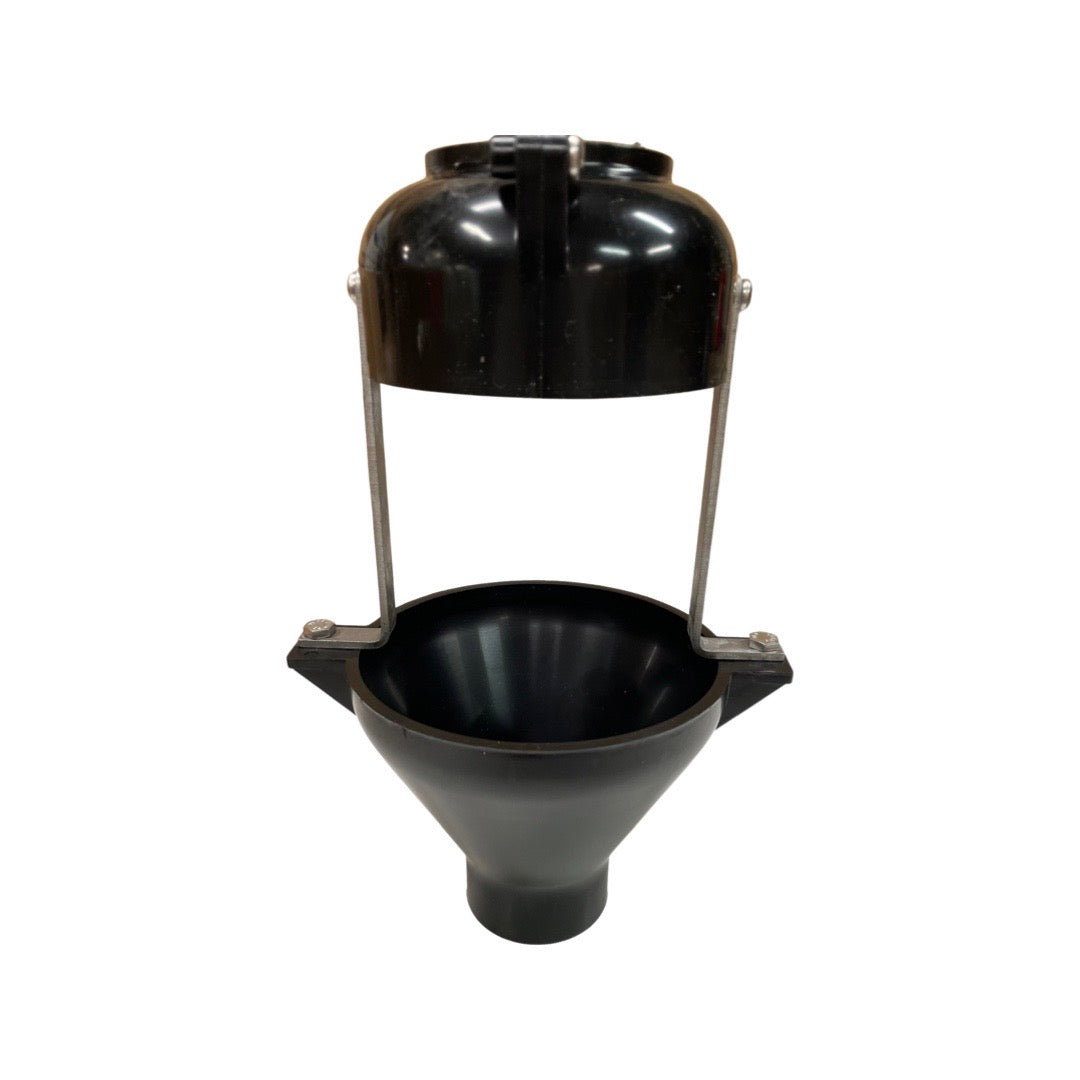
On the RP40 series the 3/4" - 1" stem was solid but the 1 1/4" - 2" was not. In the picture you can see on the larger one that it is mostly hollow inside and water gets in there and freezes. You see three notches that will be on the back side of the metal diaphragm plate. My theory is that water gets into this void through the notches and the water freezes and snaps that center where the screw that holds the diaphragm plate is received.
RP40 stems pictured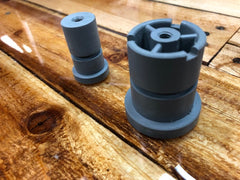 No one will think of having to remove the RV assembly when they winterize the assembly and remove the diaphragm plate and drain this void and that is why many have the issue year after year of the stem breaking.
When the RP4A design came out, sadly they didn't do much to modify the RV stem and we still have a similar issue
On the RP4A series the 1 1/4" - 1 1/2" and 2" size have a similar design to the RP40 stem. The only way to get the water out is to remove the RV assembly and remove the diaphragm plate to drain it and put it all back together or just put the RV assembly in a warm place for the winter.
This picture below shows the RP4A RV stem assembly with the spring removed so you can see how the notches sit behind the metal diaphragm plate and a source of water getting into the center of the stem.
For 1/2" - 1" RP4A stem it has a different issue. My theory is that water is trapped behind the diaphragm plate and what I call a brass wall. You can see this pointed  to in the image of the cut-a-way of the RP4A. There is nowhere for the stem to move to when the water begins to freeze and it snaps in half. It always snaps right were the o-ring groove is on the stem. To prevent this you would need to remove the RV assembly to make sure the water is released.
An additional issue when water is left here is that it causes the square RV cover plate to bow resulting in water spraying out of the side of the cover. It can be a mist or a drip. The good news is that I have luck pounding these cover plates flat by placing them on a flat smooth surface and pounding the outside edges with a regular hammer.
A piece of good news is none of this is difficult work. It is an extra step to do when winterizing and/or when turning it back on in the spring depending on if you left the parts out for the winter. The more difficult part may be remembering where you left it. The stems are also not expensive compared to the price of the complete RV assembly kits.
Now you know some theories as to why you are replacing these stems year after year. If you have a different theory I would love to hear from you via email to sean@backflow-supply.com so I can compile these and send them to Apollo.


Leave a comment